I'm super, super excited about this design. It was the perfect way to use every color from Zoya's Delight collection! I ordered the whole collection in mini bottles on April Fool's Day, when they let you pick out any 6 mini polishes for free with purchase of three full size bottles. (I also snagged two of the cremes from Tickled, last year's spring collection, and one older polish.) On the one hand, I love the Delights collection so much that I feel like I'll want them in full sized bottles, but on the other hand, I have so much freaking nail polish that I would never ever use up full sized bottles, so the minis are just fine. :)
Anyway, since there are 3 cremes and 3 metallics in this collection, and I have ten fingers, I decided to pair the matching finishes on each hand and paint each color on one nail, using all three colors in nail art twice! For the first time in a while, I'm really really happy with the way this turned out. I've been feeling kind of down on my nail art skills lately, which is why I've been posting so many swatches and so little art for so long. But this technique is super easy for me and, since it's so abstract, it's pretty hard to mess it up!
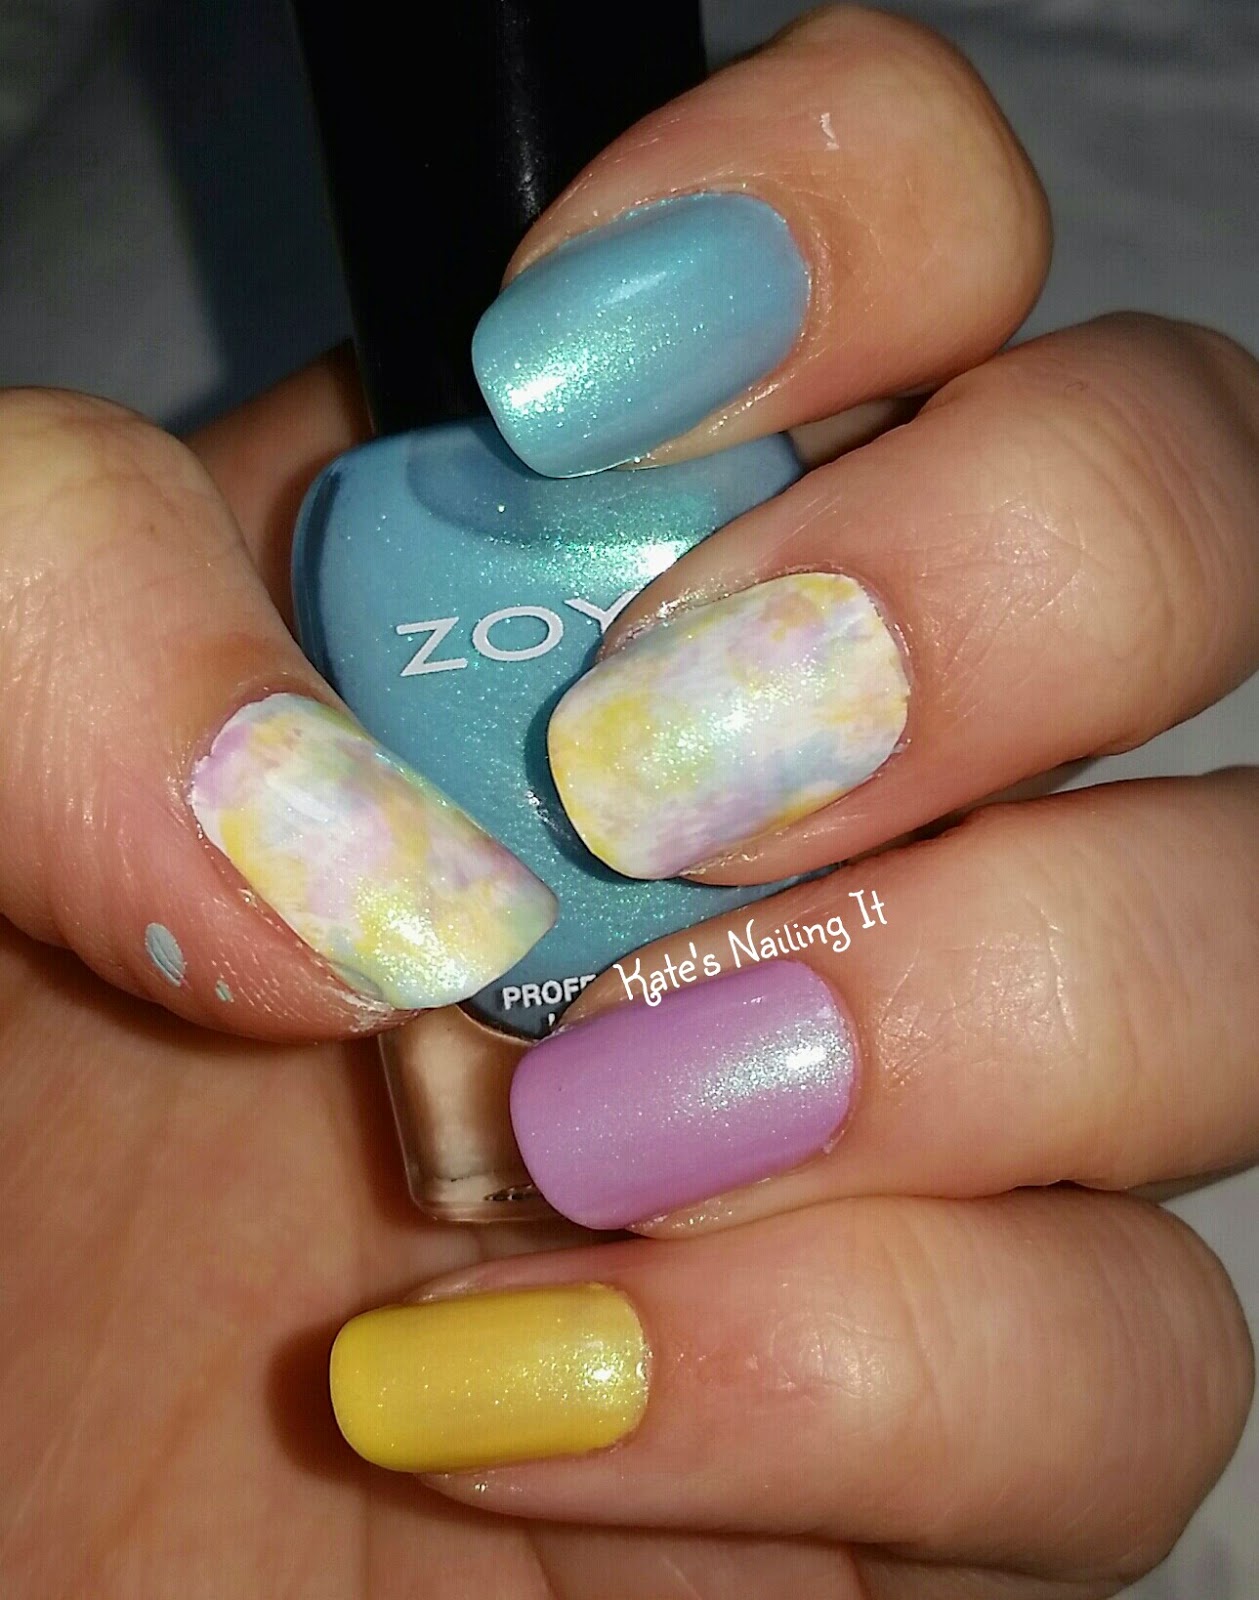
You'll have to forgive the smudge of paint on my thumb. I was too excited to share this nail art to bother cleaning that off! :)
The blue is called Rayne; purple is Leslie; and the yellow is Daisy. The white polish on all four art fingers is Salon Perfect Sugar Cube.

While I definitely love both looks, and every polish in this collection, I think I like the art made with the cremes a little bit better. The pink just stands out so much and looks like flowers in a pond or something!

Please also forgive all of the scars on my knuckles. My hands have been getting a lot of boo boos lately :(

I really wish I could have captured the turquoise shimmer in the yellow polish better! It shows up nicely in the blue and purple polishes, but it's really pretty in the yellow one, too. Maybe I'll just have to do a swatch post in the near future!
I made a photo tutorial for this look, as well! I'd love to do another video tutorial, but my setup is really awkward and I just don't have the film technology that my film-degree-having self can sign off on.

Step one: paint your nails with a base color (white is almost always going to work the best).
Steps two-three: wipe off as much of the polish as you can. Your brush should look like the one in step 3 before you continue!
Step four: dab or smear the brush onto your nail. It won't look neat, and it shouldn't! Repeat steps 2-4 as many times as you'd like with a few different colors.
Step five: add your top coat, and you're done!
I love how abstract this design is. You could probably do this over a darker color for a different type of galaxy mani! (Adding that to my list of ideas.)
What's your favorite color from this collection? Have you ever used the dry brush technique before? Let me know (or show me!) in the comments!
PS: my reader survey is still active, and I'm still looking
for more responses! If you have about five minutes to spare, please click here
to take the survey. I really, really appreciate your feedback, and who
knows - your feedback could lead to more of your favorite type of posts
on the blog!

